- Home | Blogs | Survival | Tactical | Product Reviews | Shop | Contact


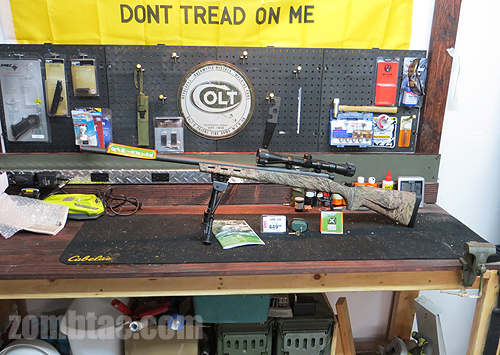
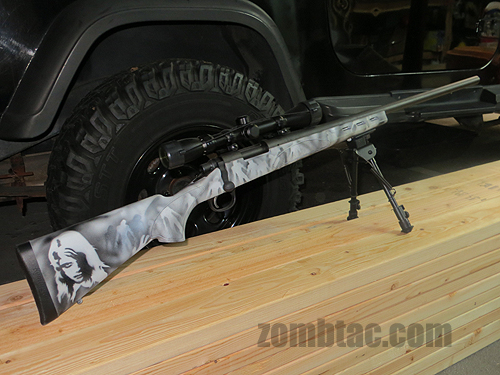
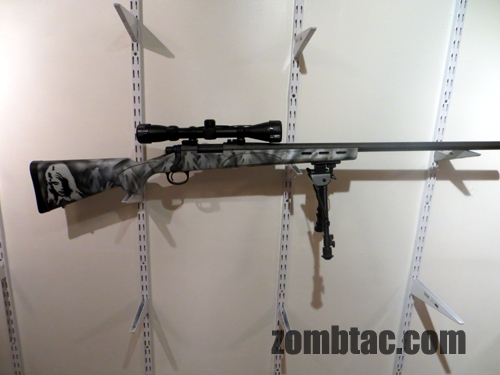
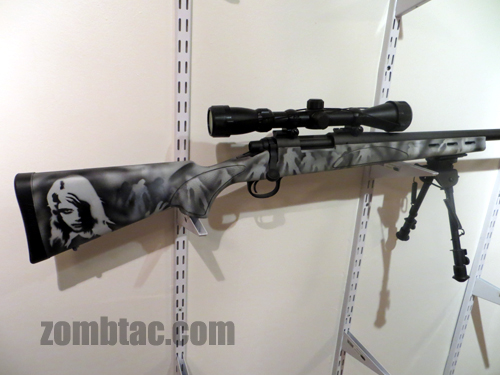
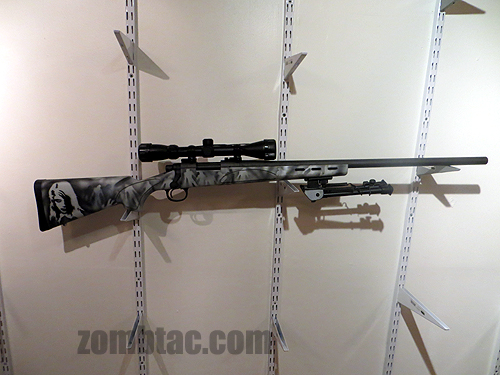
Zombie Tactical Camo Paint Tutorial


The Z700, a Remington 700 ADL in .308 and urban Zombtac Zombie Camo.


ZOMBIE CAMO PAINT JOB


We start with a Remington 700 Varmint in .308 with a MossyOak ADL Beavertail plastic stock. This gun was on sale recently at Dick's Sporting goods for $449 with rebate. A good price and the camo is fine for hunting but we're Zombie Tactical. An urban color scheme is what we need, and yeah, let's make it up from images of our prey.


Prepping is key to a good paint job. It's a little easier on a new stock, but to remove any residual oils or dirt, a wipe down with Acetone or Alcohol is the first step. If the furniture is dirtier use a non-scratch green ScotchBrite scour pad along with the solvent. If the furniture is really dirty first wash with warm water and a grease-disolving detergent like Dawn, then clean with a solvent. Repeat the wipe down several times, and let air dry.

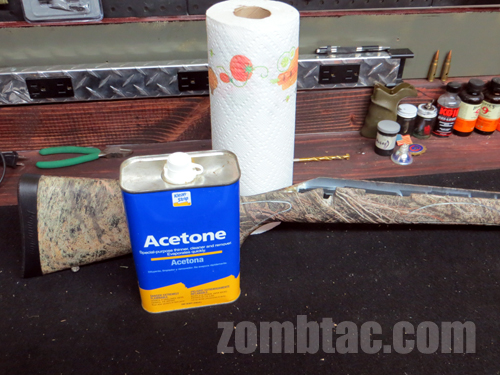
It is advisible to use gloves and have good ventilation when using Acetone.

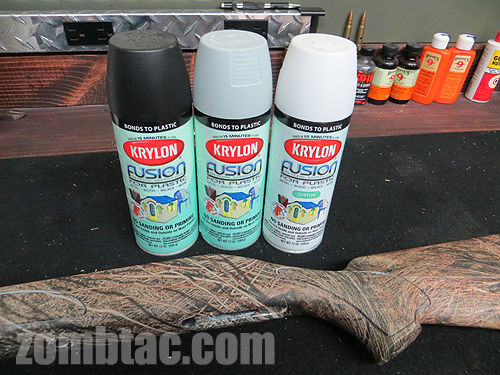
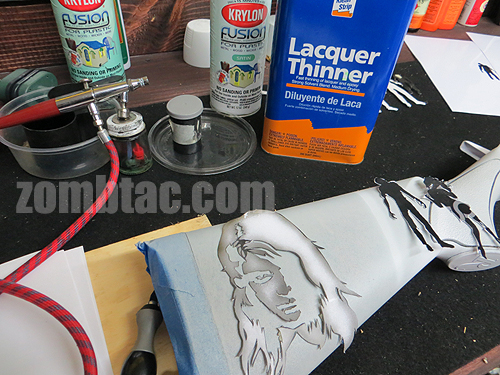
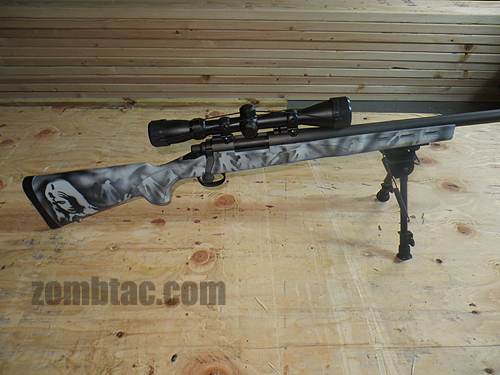
For our paint we're using Krylon Fusion, a great spray can product that works well on plastics, with it's "bonds to plastic" formula that gives it a nice connection, even under flex. Krylon Fusion has become a favorite with active duty snipers who field paint their guns to their surroundings and it comes in a Camoflauge line of colors.

For our "urban" camo, we are using a Satin Black, Pewter Gray, and White.


Now that the stock is prepped for painting, it must be hanged for spraying. A simple wire clotheshanger through the trigger group holes serves for a good location.


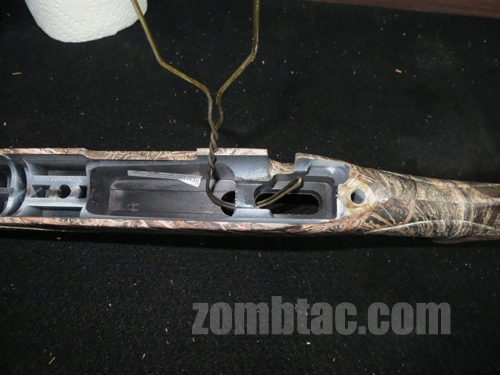
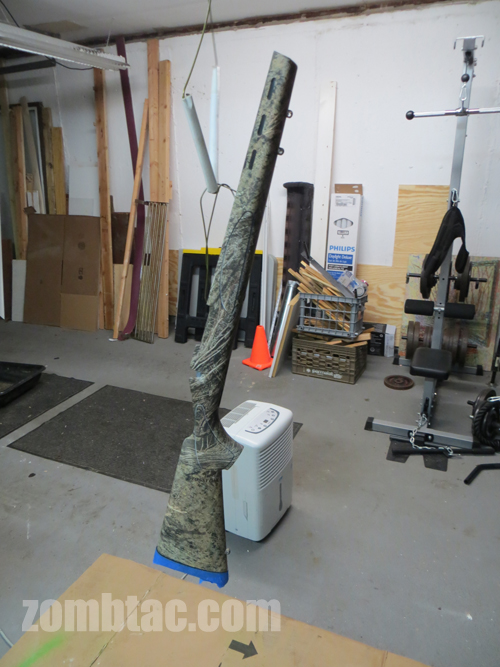
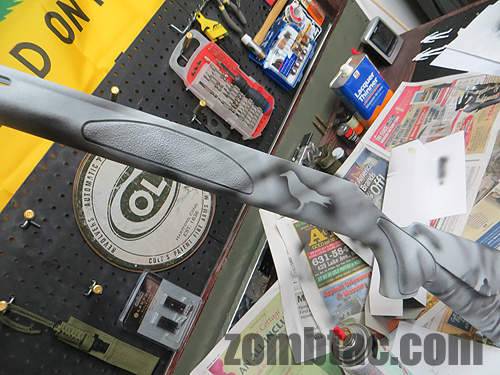
Hang the stock from the ceiling (joists, braces, hooks, whatever works) of your garage/shop/ or outdoors. Also, we taped off the black rubber recoil pad as it was simply quicker to do so. Mask off any areas on your gun or furniture that you want to leave unpainted with painters or masking tape. You can also drape the floors with carboard to prevent any accidental drip or overspray.


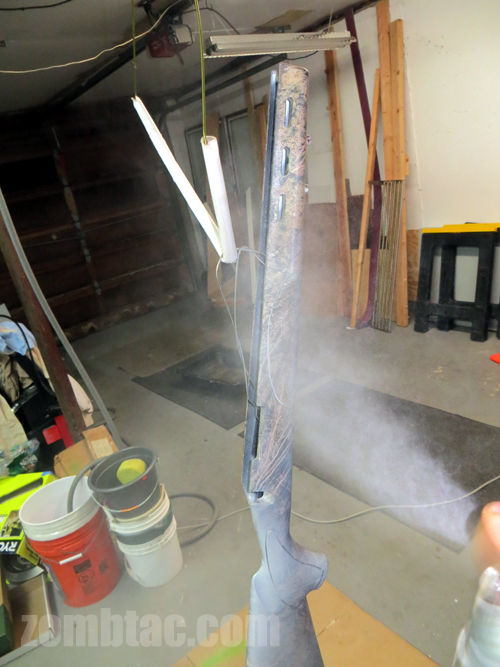
Shake the rattle cans well. We recommend over a minute, then rest it, then shake again.

Begin to lay down even sweeps of spray a good 6-12 inches from the stock. Light, even sweeps of spray is key to laying down good layers. You need to build up the layers, not lay it on thick. Go low and slow like smokin' a hog. Don't rush it. You can always add more layers, but cleaning up a thick, runny paint job may be un-fixable.

The first layer should be light and even enough so that parts of the original color or pattern shows through.
Let dry (min. 30 minutes, but you can let dry overnight as well) and spray another layer. And another until you have an even solid base coat that you are satisifed with.


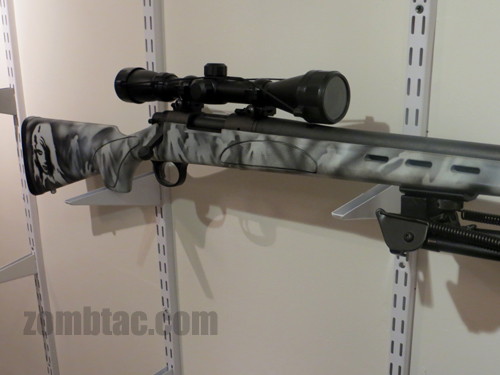
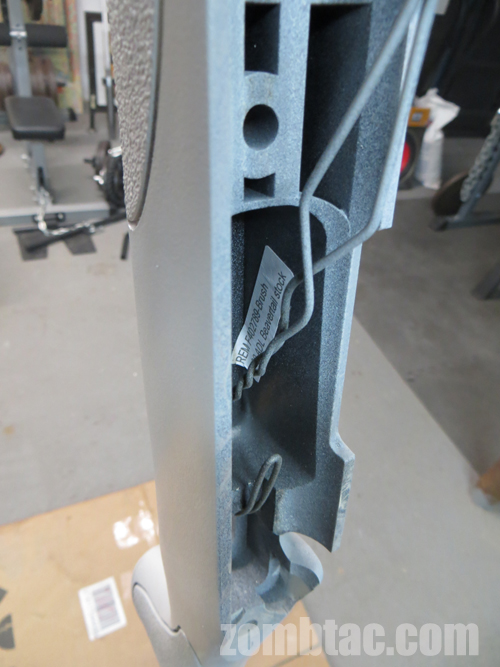
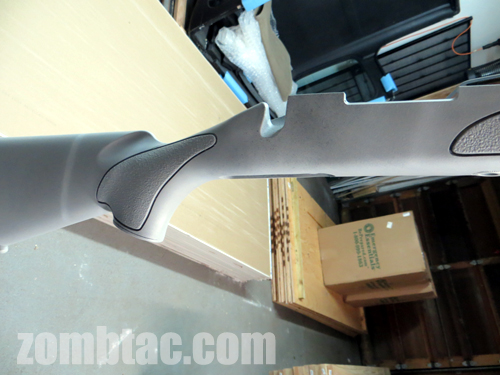
Be aware of which parts of the furniture will show when you reassemble the action. Be sure to spray all angles and areas of the gun that will be visible.

As we let the base coat dry and set (we recommend letting the 
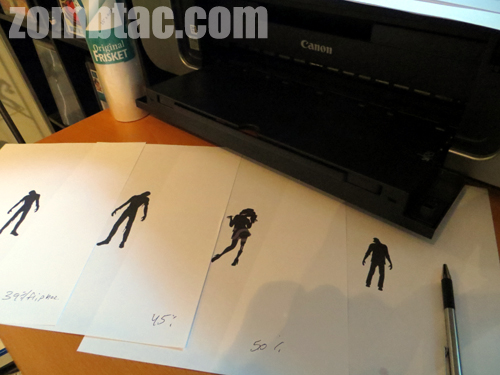
base dry overnight) we can prepare our stencils. The camo job will be accomplished by spraying a "layering" of patterns through and around stencil cut-outs of images.
Download or create silhouette images of the items that will make up the pattern, in this case the iconic zombie silhouette. Then print the pattern. We recommend printing on thick inkjet style photo paper as it is thick and glossy and will withstand the dampness of spray (and create a crisp pattern). Costco's Kirkland Professional Glossy Inkjet Photo Paper (69 lb, 10.4 mil) is a great product for this, and actually a well kept secret among photographers as it is an excellent and affordable photo paper. You can print out the stencils at different sizes for variety in pattern and edit them (strech an arm out, whatever works) in an imaging program like Photoshop.


Carefully cut out the stencil with an X-Acto knife or similar blade, and now you have two stencils; one negative space to shoot through, and the cut out to tape down and shoot an outline around.


Now that we have Pewter Gray base coat (it looks grayer in person), you can shoot some stripes with the white for some variation. Simply test out the way the can sprays on a piece of cardboard then shoot long sweeping motions with the "edge" of the spray close enough to leave a solid "stripe".


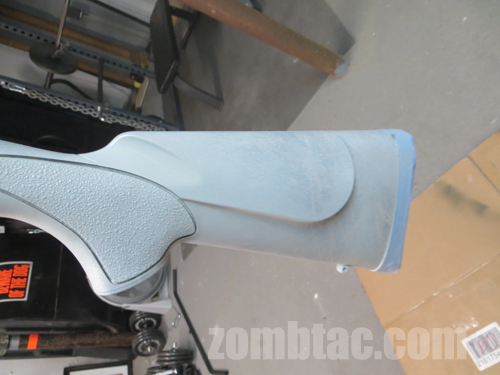
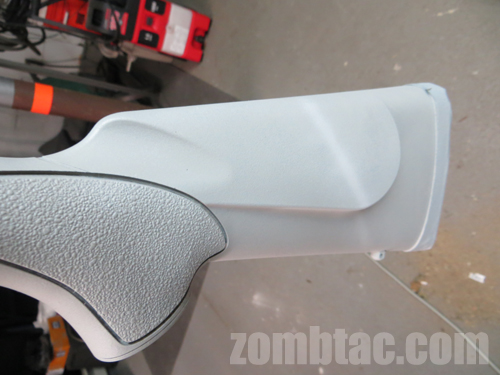
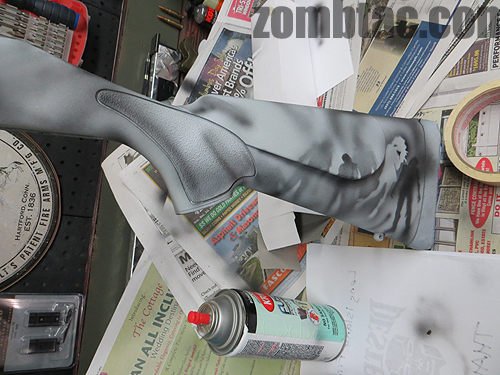
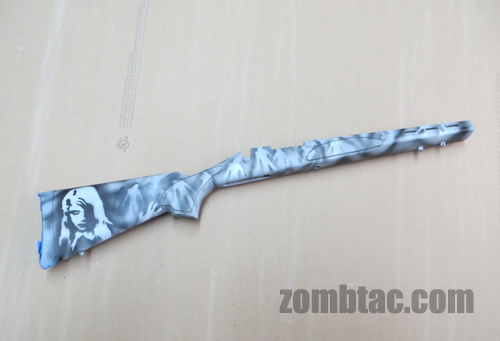
Here's a closeup of the eveness of the gray base, and a stripe shot across the butt.

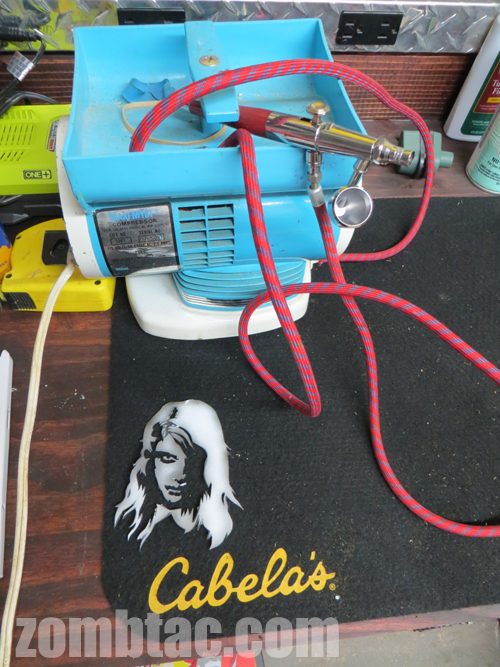
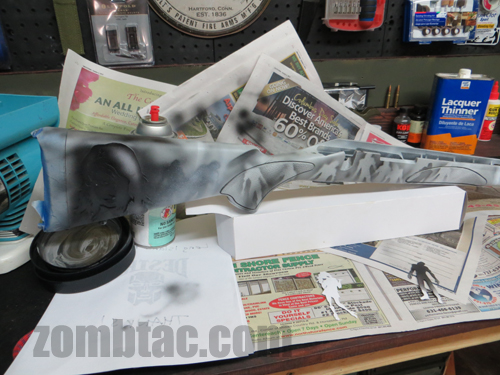
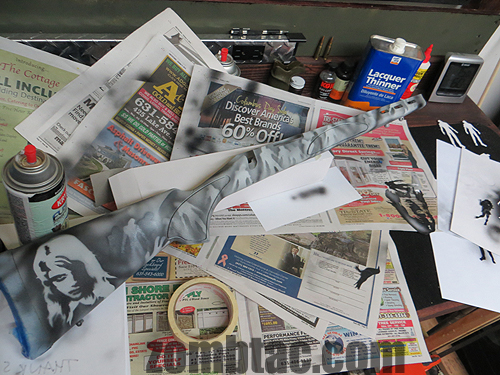
Moving on to the camo pattern, we're going to be using an old oiless air compressor from the 80s and a Paasche Double Action Entry Level Airbursh. You can accomplish the pattern by spraying straight out of the cans, but test the stream and be very careful when doing so. You can also pick up a cheap airbrush kit from Harbor Frieght Tools.


To get the paint ready for Airbrushing we need to decant the Krylon from the can. This is usually accomplished by spraying the tip of the can into a wide plastic tube and into a jar (a small plastic old school film cannister in this case) You can shoot the spray directly into the jar but the backspray will get very messy so cover your hand and the spray can with rag. Now let the paint sit, so the gasses/propellent from the rattle can will dissapate. A few hours or overnight is suggested.

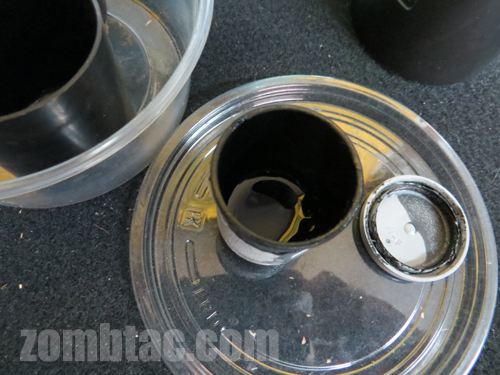
The Krylon paint can be "cut" with Lacquer Thinner to help propel the paint through the airbrush. A few drops into the paint should suffice. This is really trial and error. Lacquer Thinner will also clean the paint and your can run it through the airbrush to clean it when the painting is done, or if using a rattle can you can clean the plastic spray tip with it as well (as they are known to gum up).


We're ready to start painting the pattern. Lay down any stencils. You can double tape some masking tape to back any cardboard/thick paper stencils and press into place. The cut-out negative space stencils can be layed over and shot through. Or you can make the stencils out of Frisket Paper, and semi stick plastic adhesvie that tacks on and is used in airbrushing. In any case spray one stencil at a time and lay another one over and continue to create a pattern.


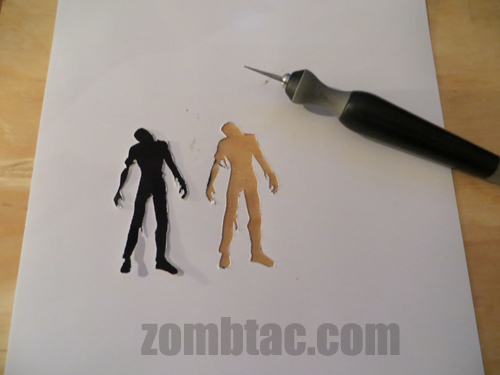
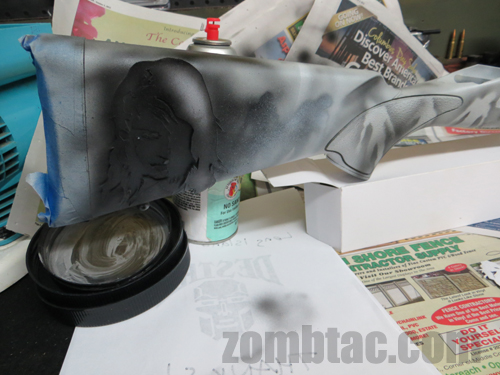
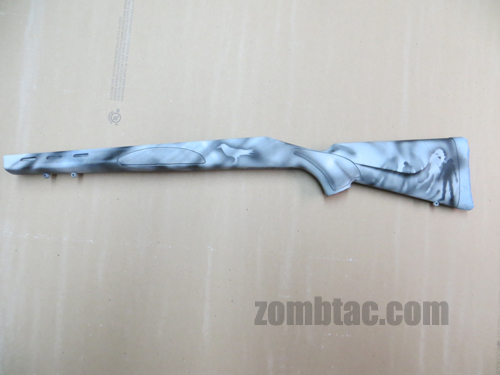
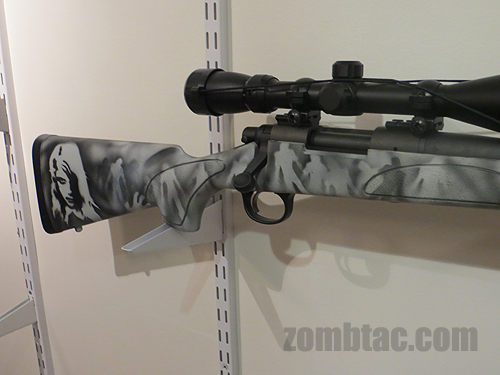
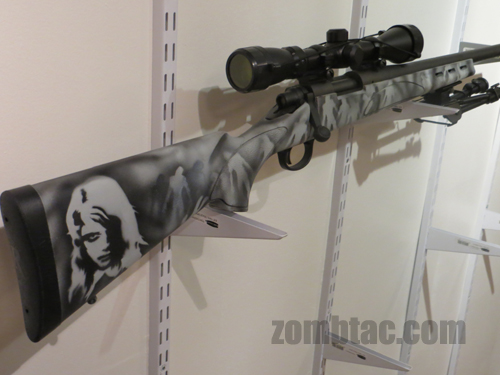
You can shoot black around the solid stencils to create an outlien (thus a gray base zombie) and shoot black through the cut out stencil to create solid black zombies. By spraying through a stencil that is held a distance away from the actual stock, you can create elongated or distorted images. You can layer and mist coats of the images, to create a faded camo blend.